Bilikiki Cruises

Bilikiki Cruises

PO Box 876
0000 Honiara
SLB

Affiliated Divesites View on map

★★★★☆ Base 1 Muck Site

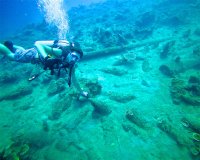
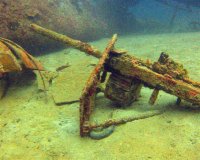
Located at the northern end of Tulagi Harbour the site was once the location of the US Combat Engineers (SEEBEES) where warship repairs were carried out during WW2. As such the bay is littered with “muck“ from that era including landing craft, munitions, small cargo ships, fishing boats, aircraft parts and more.
★★★★☆ USS Kanawa (Wreck)

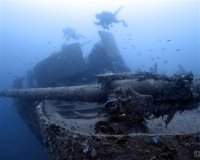
USS Kanawa is a Fleet Oiler and Freighter 476 feet long that sunk on 7 April 1943 by Japanese aircraft. It sits upright on a sandy seafloor with the Bow at 40m and the stern at 55m.

★★★★☆ HMNZS Moa (Wreck)

The HMNZS Moa is a NZ Navy Minesweeper from WWII. It was sunk by Japanese aircraft on 7 April 1943 while refuelling in Tulagi Harbour with the loss of 5 crew members. Tulagi Harbour is subject to challenging visibility because of the local estuaries and mudflats.

★★★★☆ Gavutu F4F Wildcat (Wreck)

Thought to be the aircraft flown (and ditched) by WW2 pacific air ace Lt James Swett, this aircraft lies on a sandy bottom at 42m. As is common with most aircraft, the propellor is missing and the engine cowling has fallen off. A wonderful wreck best dived at the slack tide.

★★★★☆ Twin Tunnels Reef

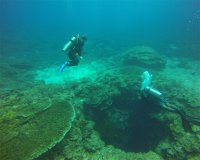
This pinnacle reef rises up from the the bottom at 70+ m to within 15m of the surface. Two vertical shafts descend from the reef top to a chamber and cave exit at 36m where both predator and prey congregate in the current. Healthy, colorful, and vibrant where a single dive hardly does it justice.

★★★★☆ PBY Catalina Seaplane (Wreck)

PBY Catalina Seaplane is lying upright on the side of the reef with the cockpit at 26m and the tail at 33m. Intact apart form the engines have now fallen off and lie on the seafloor beside the wreck. Munitions and machine guns remain in place.

★★★★☆ Azumasan Maru

The Azumasan lies about 150m from shore but is best dived from a boat. She sits upright in 39-50m at bow and 80m plus at the stern, and has lots of colour and soft corals and good photo opportunities (check the bow looking back to the wreck from the sand).

★★★★☆ Nanjalakalau Wall

Great Wall down to 50m along the northern side of the island. Great structure and current to drift with as you search both the wall and the blue for wildlife.

Mares

★★★★☆ Maravagi F4F Wildcat (Wreck)

Discovered in 2018 by Sealark Maritime Exploration, this Grummen F4F Wildcat lies inverted and intact at 38m. The white sand bottom and the steady current have made the wreck an ideal site for the soft and hard corals to grow. Corals of all colors are abundant on this wreck and the nearby reef.

Mares, Janez Kranjc

★★★★☆ Baby Cakes Reef

A mound reef ranging from 15 - 30m in the middle of the bay. There is always a current on this site which makes it an ideal congregation point for both predator and prey. If the timings is right you can just set your reef hook and watch the show unfold.

Aqualung

★★★☆☆ Kawanashi “Mavis“ Seaplane # 2 (Wreck)

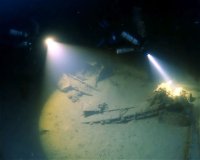
Another of the 7 Kawanashi wrecks in the bay. Not as intact as Mavis # 1 but just as impressive. Machine guns and a 20mm canon are visible along with nudibranchs and tree corals.

Mares, Predrag Vuckovic

★★★★☆ Tanavula Point Drift

A spectacular drift dive along the wall of Tanavula point. A sloping reef ecosystem which merges into a vertical wall at the point which becomes a congregation point when the current is running. Beware the down currents at the point when there is strong current flow.

Mares

★★★★☆ Kawanashi “Mavis“ Seaplane # 1 (Wreck)

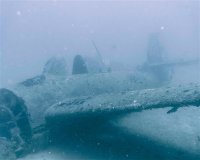
1 of 7 Japanese “Mavis“ Kawanashi Seaplanes in the bay. This is the most intact wreck of the 7 in the bay and sits upright on a very silty bottom at 26m - 33m. The aircraft is complete apart form the missing starboard wing.

Mares

★★★★☆ Balydon Shoals

A long shallow reef (18m) stretching approx 400m. Fairly flat and barren on the top due to the string currents that run across the top. A stunning wall features on the SW side where the fish congregation point is. A fantastic drift.